How-to · SketchUp to render
SketchUp to photoreal render, in about a minute.
No V-Ray licence, no material library, no overnight render queue. Export one clean view from SketchUp, upload it, pick a style and light — and get a render that keeps your design.
What you need
- A SketchUp model with the elevation you want to show. Textures are optional.
- One exported view as PNG or JPG — 1600–3000 px wide is plenty.
- A Visulixx account (3 free renders, no card).
That is it — no plugin, no GPU, no render engine.
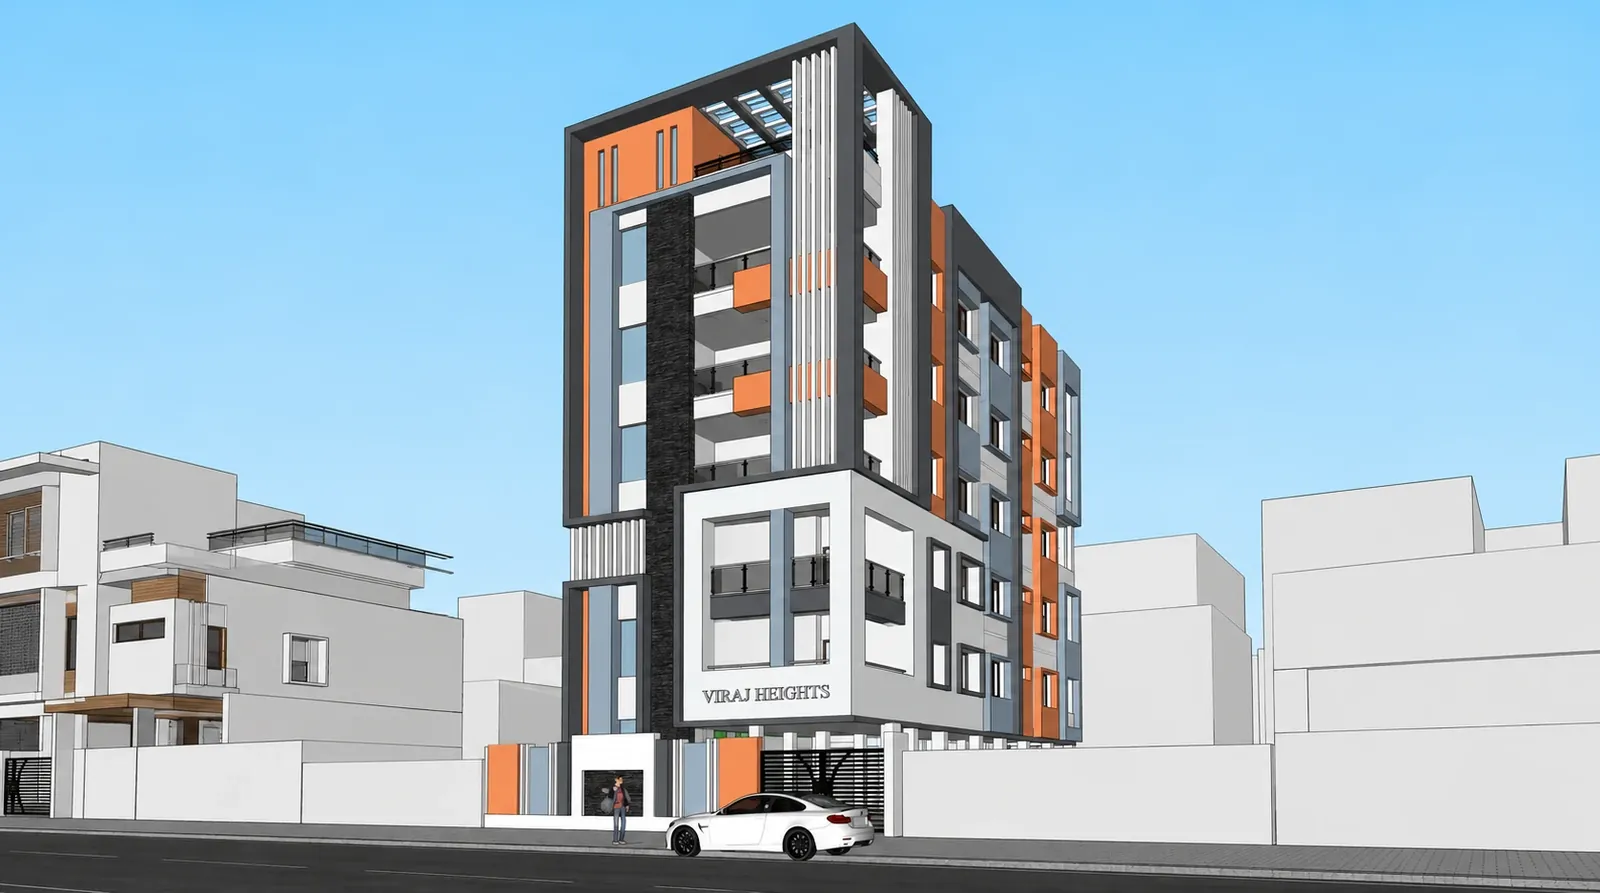
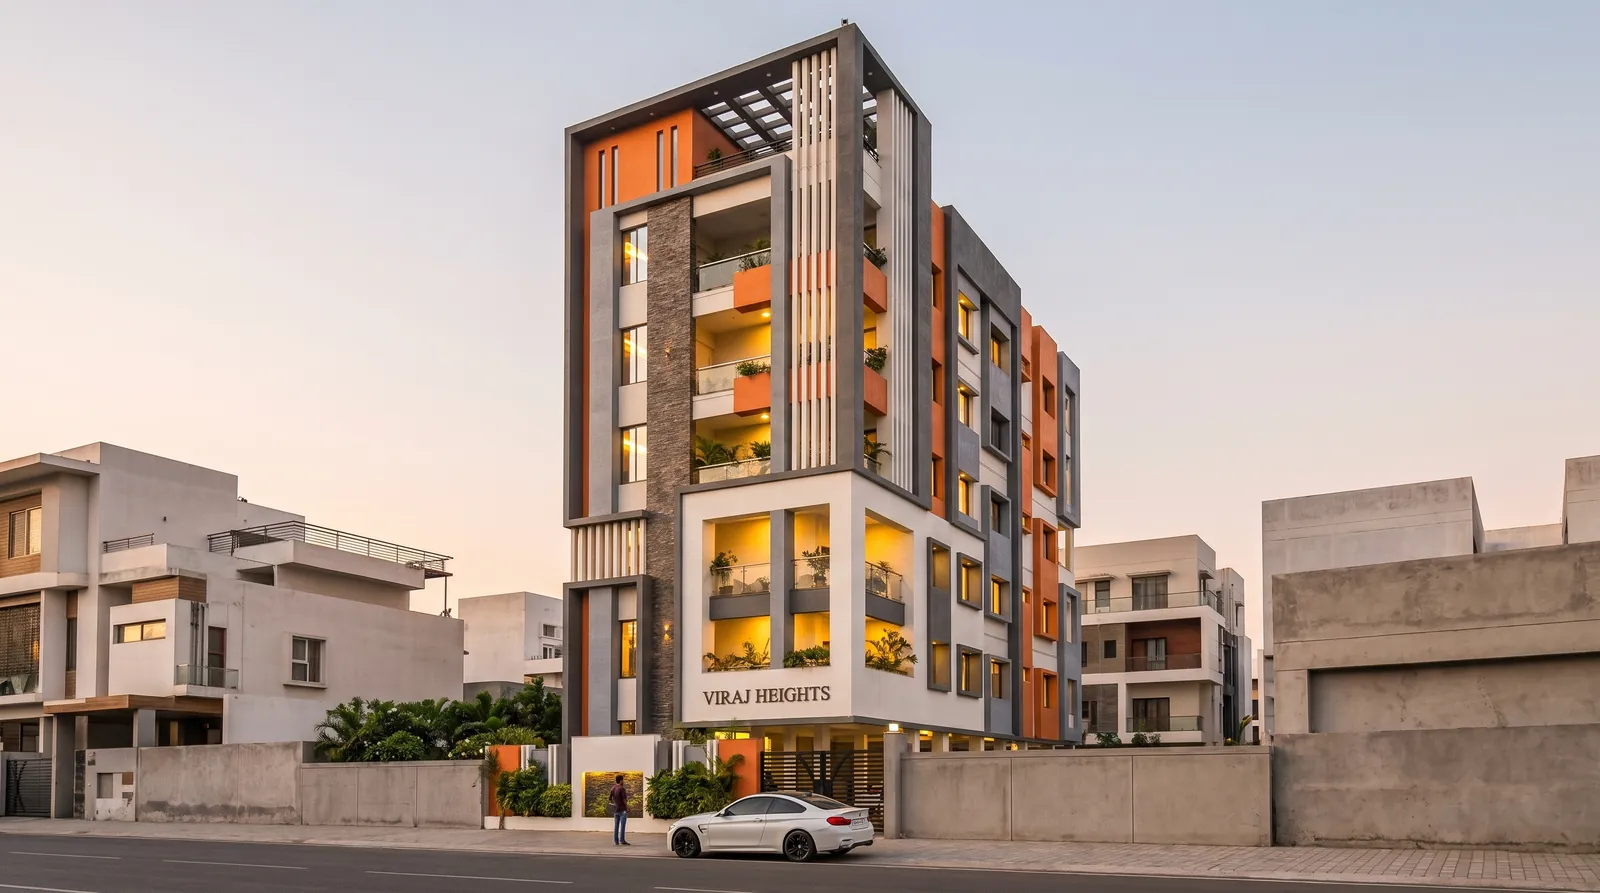
Step 1 — Set up the view in SketchUp
- Pick the camera you want the client to see. Eye level (about 1.5–1.7 m) reads most naturally. A slight three-quarter angle shows depth; a straight front reads like a classic elevation.
- Use two-point perspective (Camera → Two-Point Perspective) so verticals stay vertical — just like an architectural photograph.
- Field of view around 35–45°. Very wide angles distort the building and make the AI's job harder.
- Leave room around the building. Keep the full building in frame with some sky and ground — the AI needs space to add the street, plot and planting.
Step 2 — Choose a style that exports cleanly
- Shaded with textures or Shaded both work. Simple flat colours are fine — Visulixx adds real materials.
- Turn on edges, turn off profiles exaggeration. Clean, thin edges help the AI read windows, railings and slats.
- Shadows: on or off both work. Shadows on can help with depth on balconies and cantilevers.
- Hide clutter you don't want in the render: stray guides, section planes, scale figures you don't need, dimension text and tags.
- Neighbouring blocks are welcome. Simple white masses for adjacent buildings tell the AI where the neighbours are.
Step 3 — Export the image
File → Export → 2D Graphic → PNG or JPG. Set the width to 1600–3000 px. Do not export at 8K — it only makes the upload slower; Visulixx upscales the final render to 4K if you need print resolution.
Step 4 — Render it
- In Visulixx, start a project and upload the PNG (or press ⌘V to paste a screenshot straight into Studio).
- Pick V-Real for your first render — it reads the building and picks a fitting neighbourhood (village, semi-urban, gated community, urban, city or farmhouse).
- Leave atmosphere on From style, or pick one: golden hour for warmth, blue hour for drama, midday for clarity.
- Choose the aspect ratio — match source, 16:9 for decks, 4:5 for Instagram, or A4 for print sets.
- Generate. Consistency Lock checks the result against your SketchUp view before you see it.
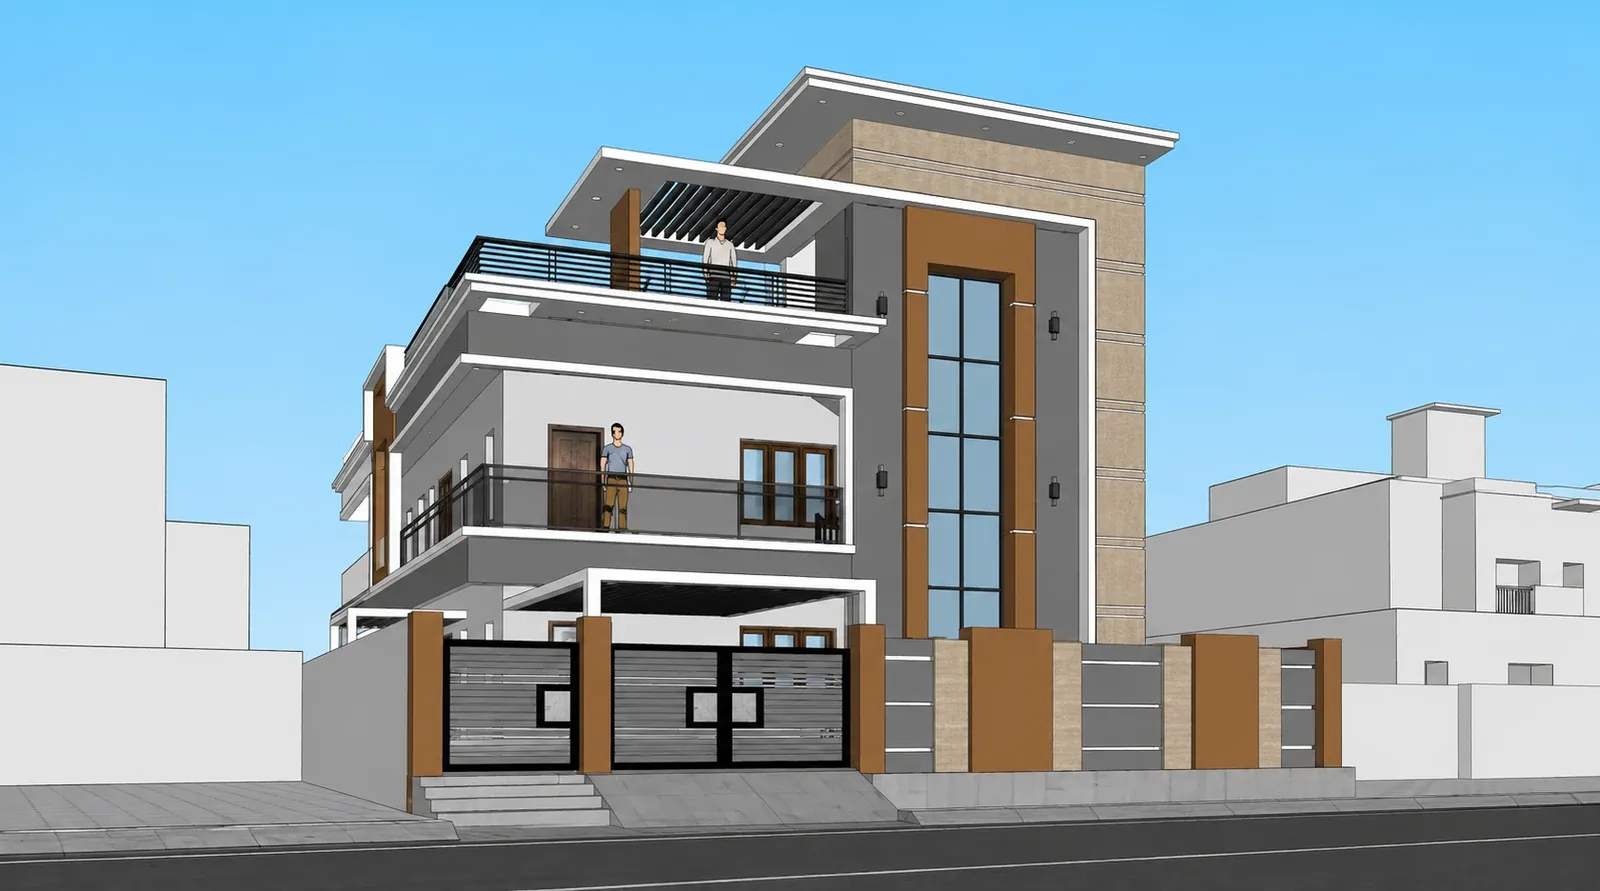
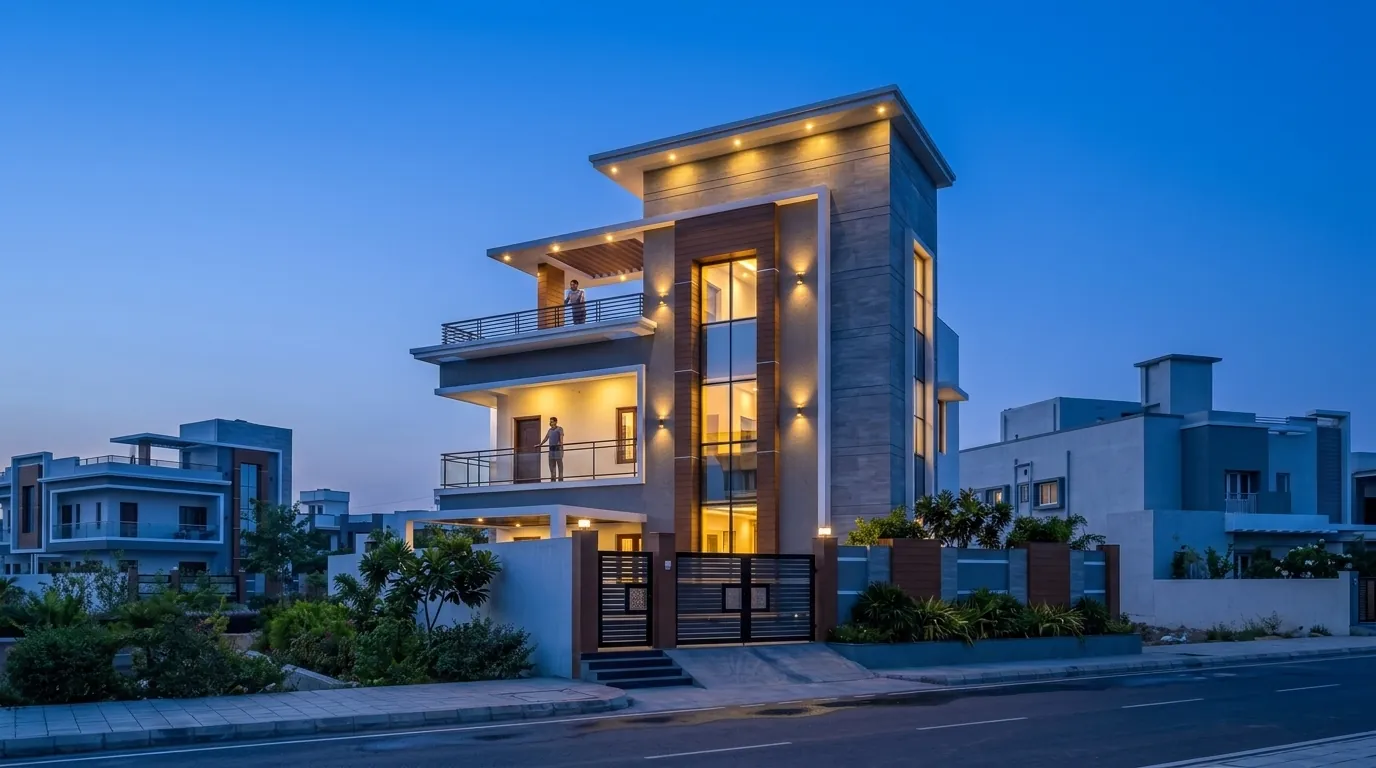
Step 5 — Iterate like a designer, not a prompt engineer
- Change atmosphere keeps the photograph and re-lights it — perfect for showing a client day and night.
- Try a different style moves the same building to a different street or setting.
- Tweak makes one-line changes ("darker gate", "more planting").
- Lock world → shots renders more angles of the same scene.
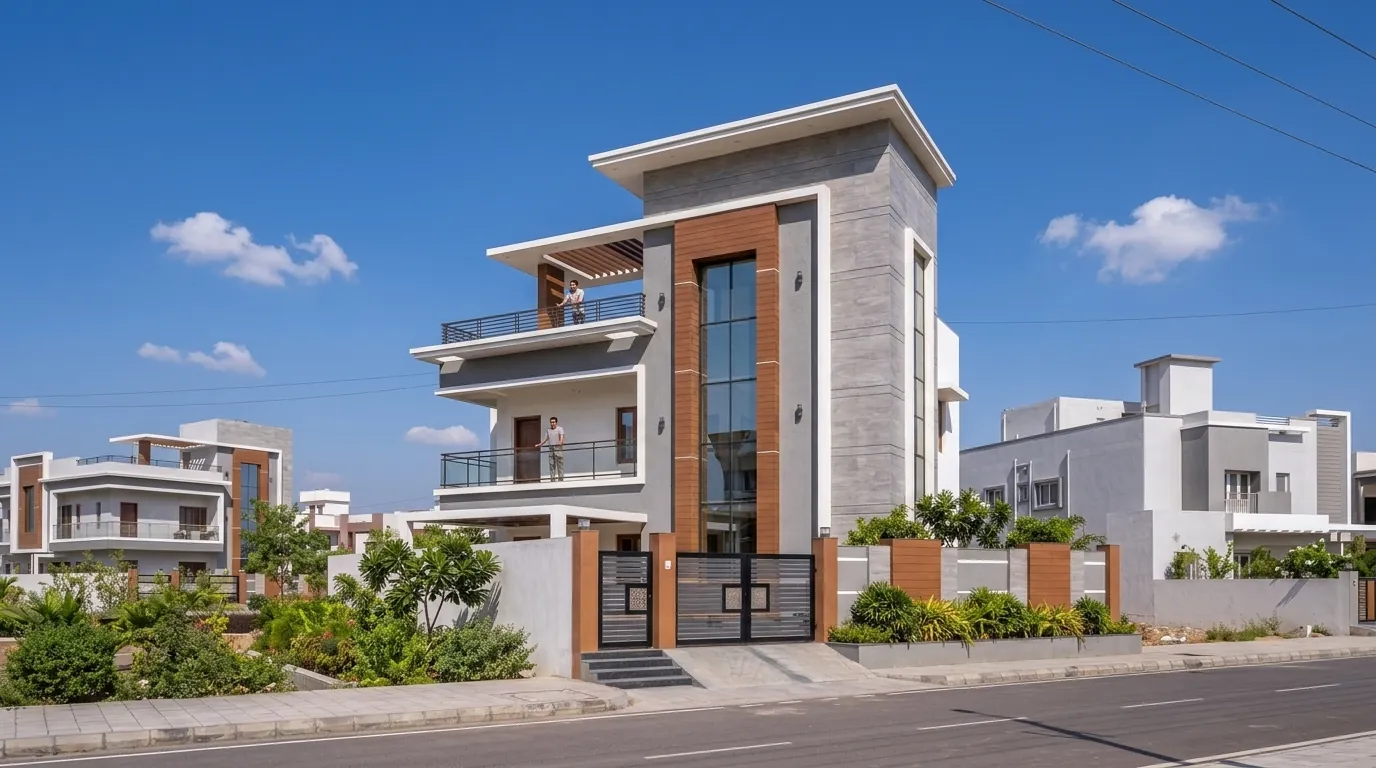
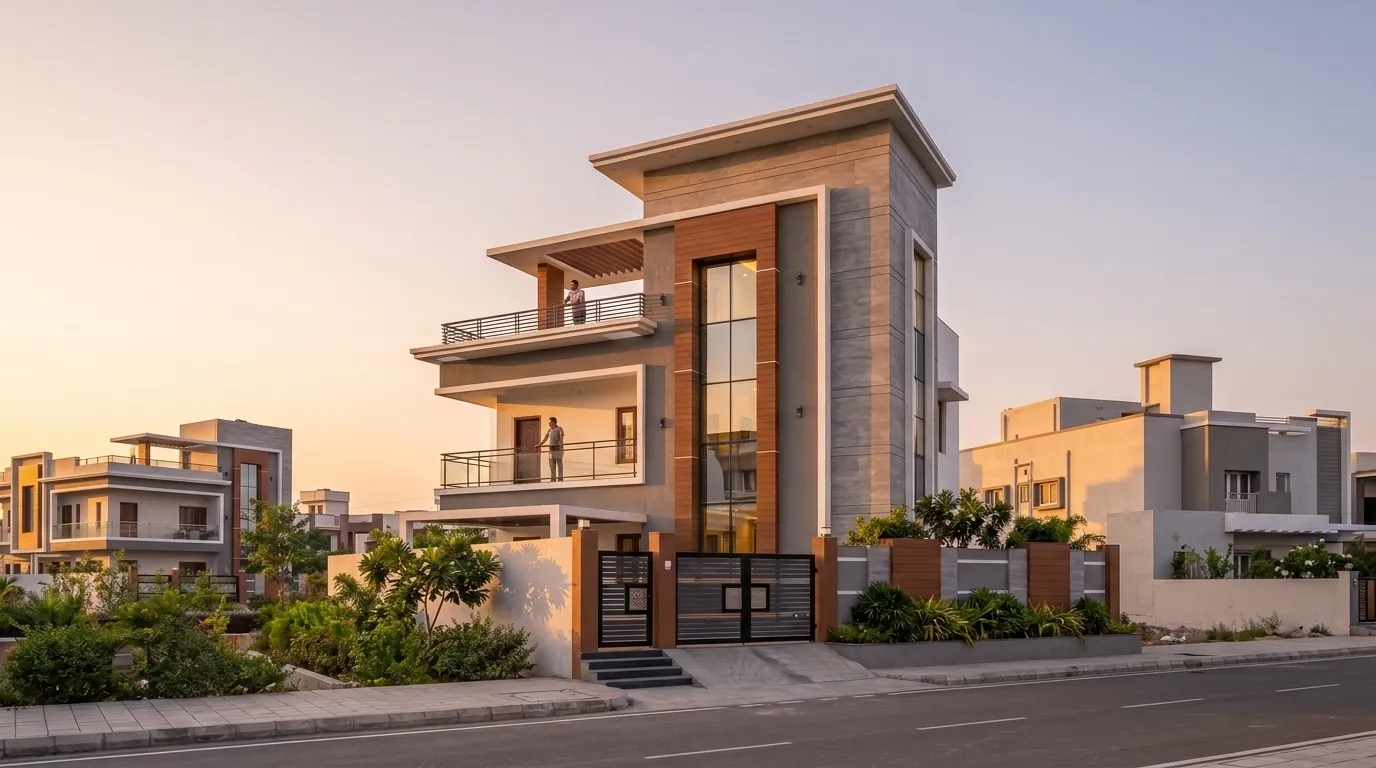
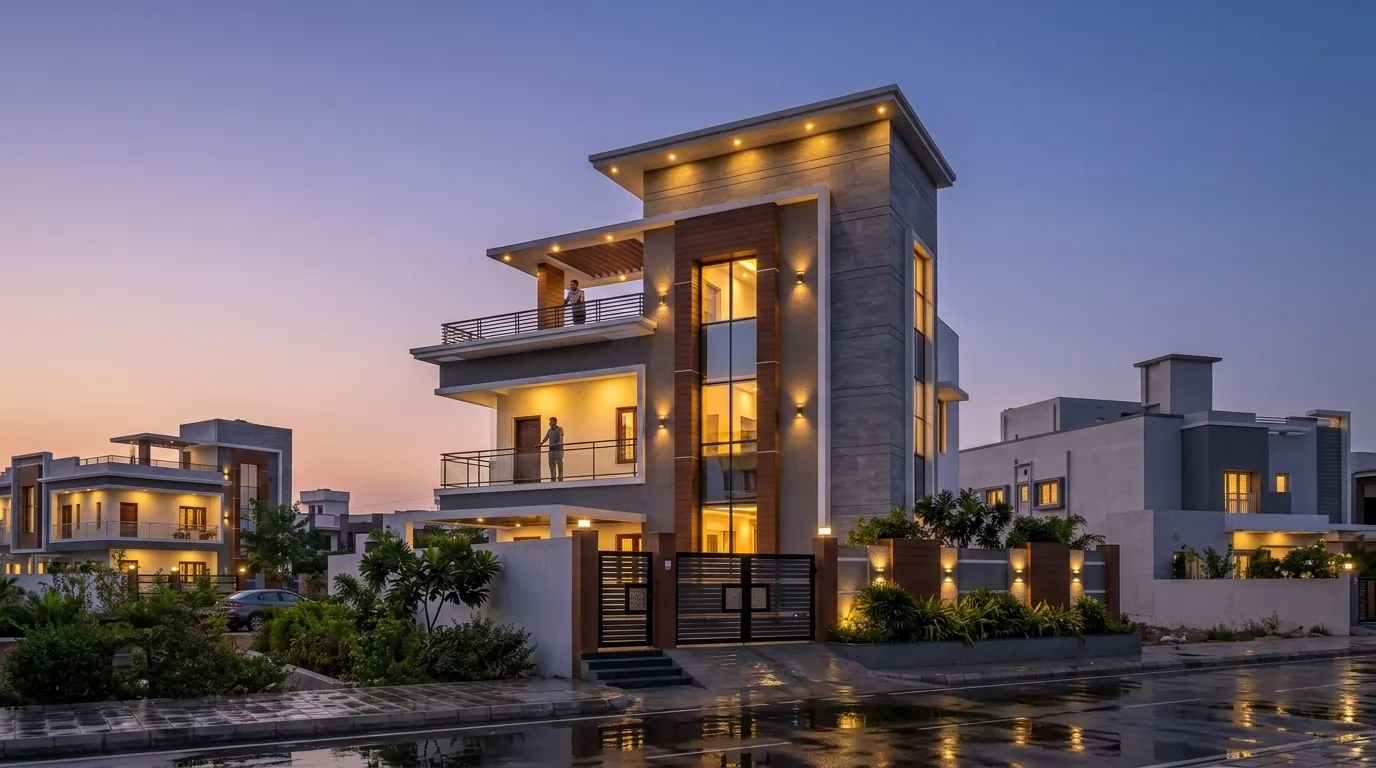
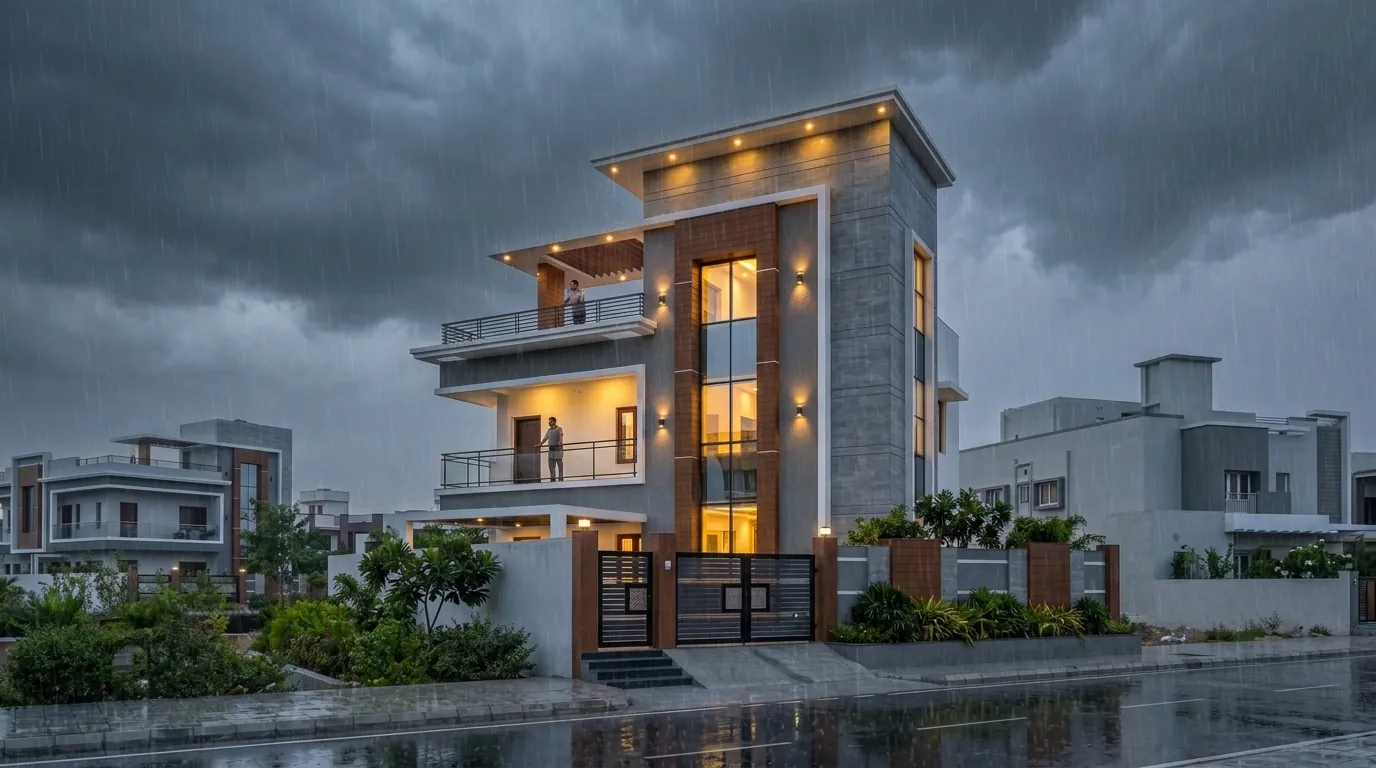
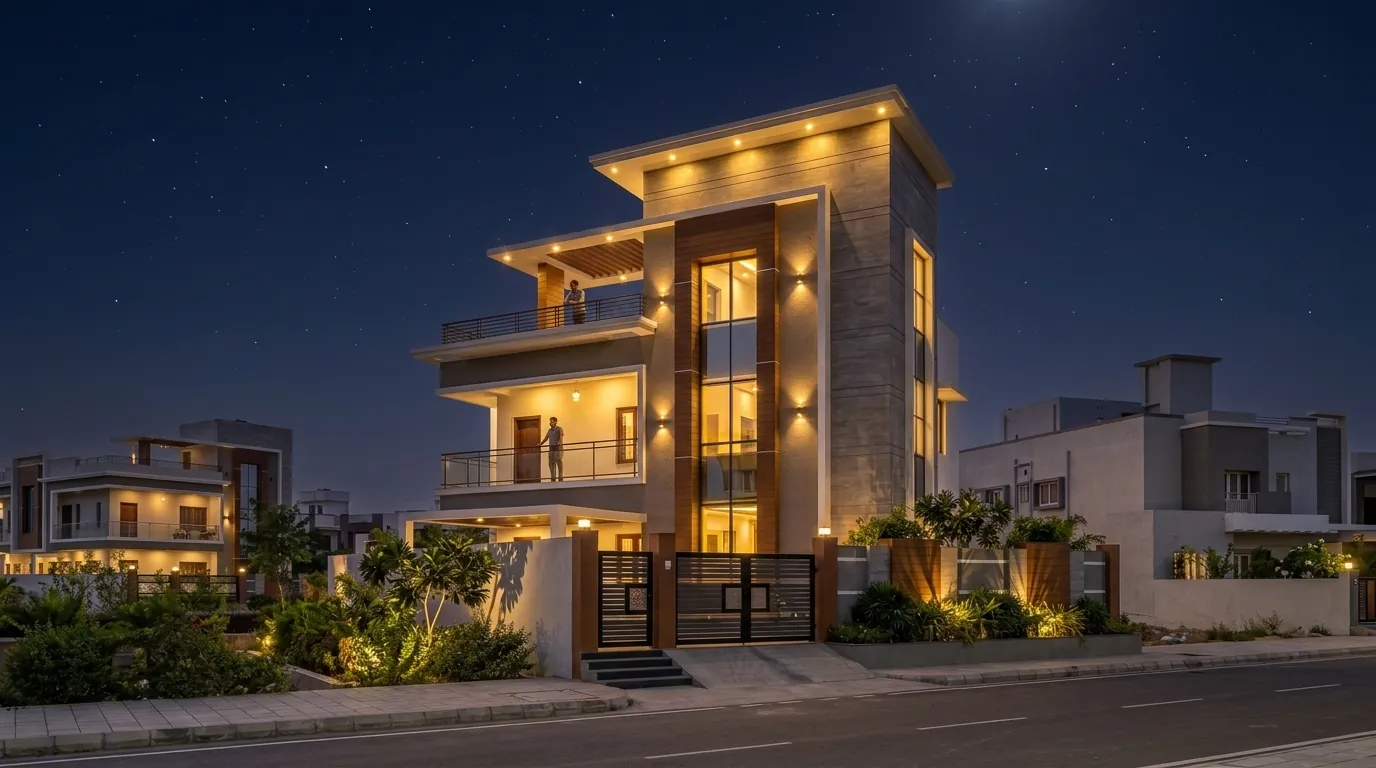
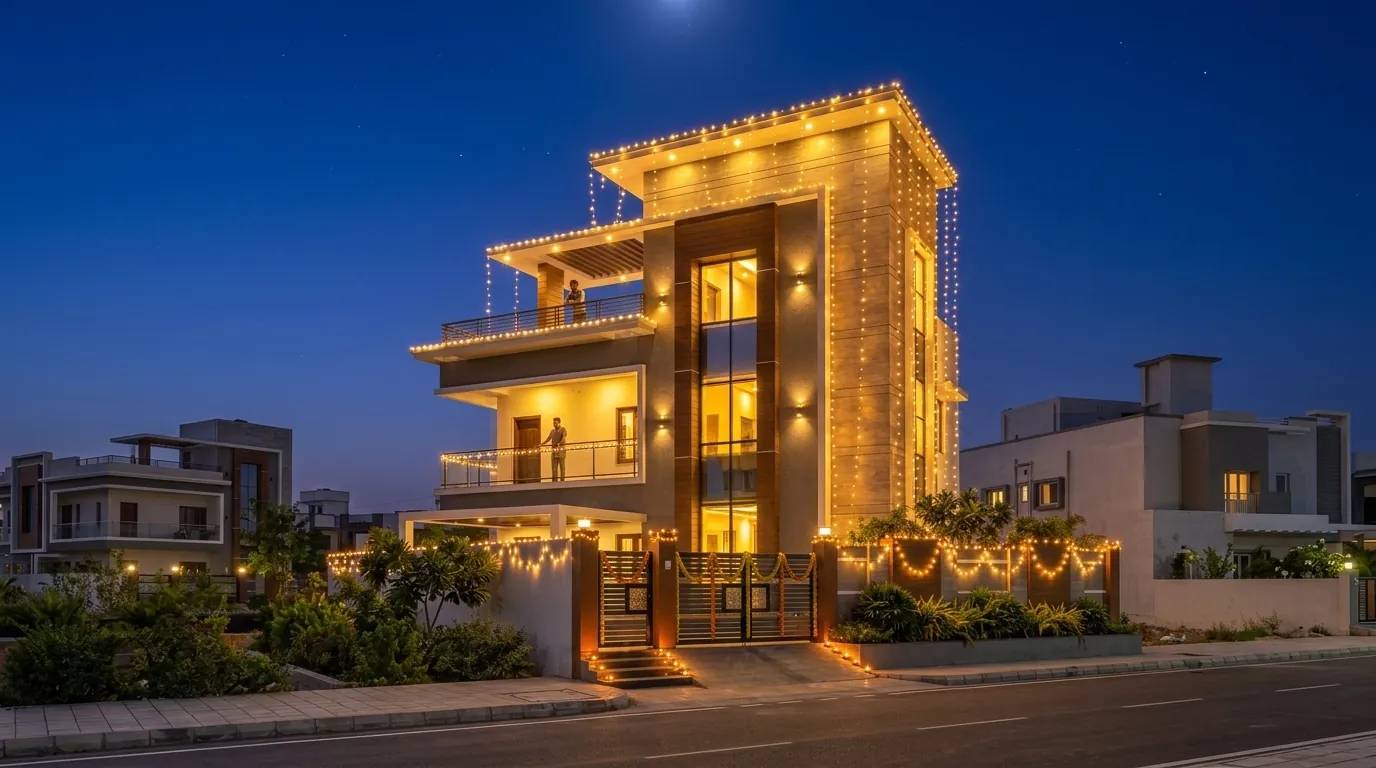
Six of the sixteen atmospheres rendered from one SketchUp file.
Troubleshooting
| Problem | Likely cause | Fix |
|---|---|---|
| Windows or railings look smudged | Edges too faint or image too small | Export 2000+ px wide with edges on |
| Building looks distorted | Very wide field of view | Use 35–45° and two-point perspective |
| Odd objects appear in the render | Stray guides, figures or tags in the view | Hide them before export |
| The world doesn't suit the project | Wrong style for the context | Try V-Real, or pick a Realistic style that matches the neighbourhood |
| You need the side the drawing doesn't show | The AI must invent unseen faces | Export a second view from SketchUp for that side — it will always beat a guess |
Export one view from SketchUp today and render it free — 3 renders, no card.
Start free — 3 renders →SketchUp + AI vs SketchUp + V-Ray
V-Ray (or Enscape, Lumion, D5) gives you full control and animation, but needs materials, lighting set-up, a capable GPU and hours per view. SketchUp + AI gives you a client-ready image in a minute, five lights in five minutes, and no hardware — ideal for first meetings, options and approvals. Many studios now use both: AI for everything up to approval, a traditional engine for the final hero frame. Our complete AI rendering guide goes deeper on when each wins.
FAQ
Common questions
Can I render a SketchUp model without V-Ray?
Yes. Export a screenshot of your SketchUp view and upload it to an AI renderer like Visulixx. You get a photorealistic render in about a minute without V-Ray, Enscape or a GPU.
Do I need textures in SketchUp for AI rendering?
No. Flat colours or plain white models work well — the AI adds real materials. Clean edges matter more than textures.
What resolution should I export from SketchUp?
1600–3000 pixels wide is ideal. Larger exports only slow the upload; Visulixx can upscale the final render to 4K.
Is there a SketchUp plugin for Visulixx?
Visulixx works in the browser — export a PNG or paste a screenshot with ⌘V. No plugin or installation is needed.
Will the AI change my SketchUp design?
Visulixx checks every render against your SketchUp view (Consistency Lock) and re-renders anything that drifted, so floors, windows and the gate stay as you drew them.
3 free renders · no card
Turn your next SketchUp export into a client-ready render.
Three free renders, no card. Upload a SketchUp, Revit or AutoCAD view and see it photoreal — checked against your drawing.